Upgrade Your Bath with Professional Custom Glass Shower Installation Techniques
Panel Attachment Methods and Structural Mounting Systems
A professional glass shower wall installation follows a clear sequence: verify the shower opening is plumb and level, secure structural backing or mounting channels into solid framing, set the tempered glass panels on neoprene setting blocks, align doors to consistent perimeter gaps, and seal every glass-to-tile junction with mold-resistant silicone. This process ensures the enclosure remains rigid, watertight, and safe for daily use in Chicago-area homes.
Choosing the right structural mounting system determines how your enclosure looks and performs over time. Heavy architectural glass requires dedicated attachment systems capable of carrying substantial weight while accommodating subtle imperfections in tile work.
| Mounting Method | Hardware Profile | Structural Integrity | Best Wall Condition | Aesthetic Profile |
|---|---|---|---|---|
| Mounting Clips (Clamps) | Minimalist points (2″–3″ brackets) | Heavy-duty, requires direct stud anchoring | Perfectly plumb walls | Open, floating, frameless luxury |
| U-Channel | Continuous slim aluminum track | Excellent weight distribution across track | Accommodates out-of-plumb walls (up to 3/8″) | Clean, subtle border |
| Embedded Glass | Recessed channel inside tile substrate | Maximum structural anchoring | Requires pre-tile structural planning | Ultra-seamless, zero exposed hardware |
| Hybrid Systems | Combination of channel base and wall clips | Superior load support with open top | Irregular curbs or uneven wall surfaces | Balanced modern transitional |
Frameless Glass Shower Wall Installation Hardware: Clips vs. U-Channel
Mounting clips deliver the ultimate minimalist aesthetic by securing stationary glass panels at discrete anchor points, usually 8 inches from the bottom and 70 inches from the threshold. Because clips provide minimal lateral adjustment, they require perfectly flat, plumb tile walls typical of modern luxury renovations in Lincoln Park and Wilmette.
U-channels feature a continuous metal profile that holds the bottom and wall edges of the glass panel. U-channel systems can absorb minor wall irregularities and wavy tile lines while providing exceptional structural rigidity. To explore full hardware configurations and architectural layouts, read The Clear-Cut Guide to Custom Glass Shower Installation to see how each mounting profile integrates with custom stonework.
Structural Backing and Stud Requirements
Heavy 3/8-inch and 1/2-inch tempered safety glass panels place immense mechanical stress on wall substrates. A single 34-inch by 74-inch panel of 3/8-inch glass weighs roughly 100 pounds, requiring direct anchoring into solid wood framing rather than tile or drywall alone.
- Hinge and Header Locations: Wall-mounted glass hinges and pivot headers require double 2×4 wood studs or solid 2×6 wood blocking behind the wall surface.
- Fastener Thread Engagement: All structural fasteners must achieve a minimum of 1-1/4″ thread engagement into solid wood blocking at load-bearing points.
- Substrate Considerations: For fiberglass or acrylic shower bases, verify solid backing behind vertical walls before setting structural hardware; detailed specs can be reviewed in the Shower Enclosure Installation Guide.

Planning and Pre-Installation Preparation for Glass Shower Wall Installation
Careful site inspection and structural verification prevent costly glass misalignments during installation. In historic Evanston homes or mid-century Skokie ranches, settling walls and uneven framing must be identified before custom glass panels are ordered.
Measuring Plumb and Level Across Shower Openings
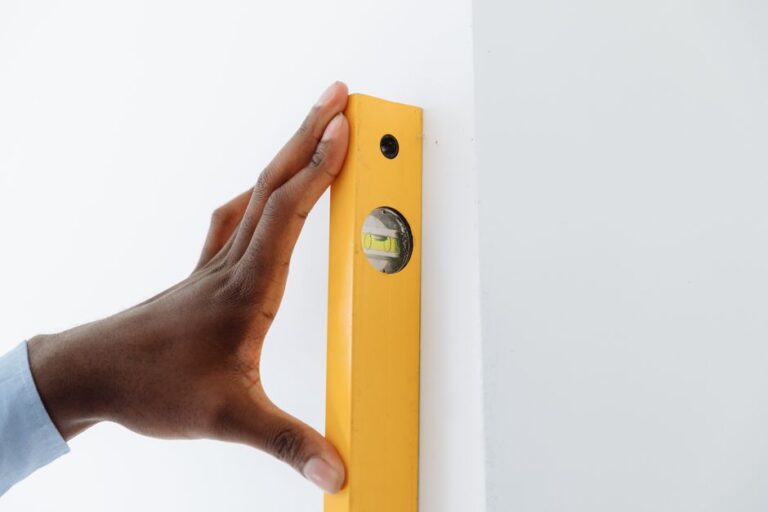
Accurate layout planning requires measuring the shower opening width at three separate elevations: the bottom threshold, the middle height (around 36 inches), and the top height (typically 72 to 84 inches). Even minor variations between these three points indicate out-of-plumb conditions that must be accounted for during glass fabrication.
When planning a modern walk-in shower conversion, verify that the shower curb has a minimum flat width of 3 inches for sliding door tracks, and ensure the threshold slopes inward toward the drain at a pitch of 1/8 to 1/4 inch per foot. If walls lean more than 3/8 inch out of plumb, a tapered aluminum filler or custom out-of-square glass fabrication will be necessary to prevent water leaks.
Substrate Preparation and Tile Drilling Techniques
Drilling through dense porcelain, ceramic, or natural stone tile without cracking requires precise technique and dedicated masonry tools. High-speed drilling generates excessive friction that can shatter brittle tile surfaces or damage underlying waterproofing membranes.
- Mark fastener locations with a pencil, then apply masking tape over the mark to prevent the drill bit from wandering.
- Use a 1/4-inch diamond-tipped or carbide spear-point masonry bit running at low RPM without the hammer function engaged.
- Lubricate the bit with water or a damp sponge throughout drilling to keep temperatures low and prevent heat fractures.
- Once through the tile and backer board, drill into the wood stud with a standard wood pilot bit, then insert heavy-duty wall anchors flush with the tile face.
Our team at HQ Carpentry integrates proper substrate preparation into our comprehensive bathroom remodeling projects to ensure that every anchor point holds firmly without compromising moisture barriers.
Step-by-Step Guide to Fixed Panel and Door Assembly
Careful physical handling protects tempered glass from premature stress fractures. Because tempered glass is under intense internal tension, edge or corner impacts against stone surfaces can cause spontaneous breakage.

Setting Fixed Glass Panels with Rubber Blocks
Never place raw tempered glass directly onto hard tile or metal channels. Setting blocks provide vital cushioning, structural stability, and clearance for water drainage beneath stationary glass.
- Heavy-duty glass suction cup lifting handles
- 48-inch precision spirit level
- Clear, mold-resistant 100% silicone sealant
- Rubber-tipped allen wrenches and screwdrivers
- 1/16-inch and 1/8-inch neoprene rubber setting blocks
Place 1/8-inch rubber setting blocks along the shower threshold, positioned roughly 3-1/2 inches from each corner. Using dual suction handles, lift the glass panel, align it with the vertical wall hardware, and gently rest the bottom edge on the rubber blocks. Ensure the permanent safety certification stamp faces the bottom corner closest to the wall, as outlined in the Gaia Fluted Single Fixed Panel Installation Guide.
Hinged and Sliding Door Alignment
Hinged and sliding shower doors demand exacting clearances to operate smoothly while containing water spray. A standard frameless hinged door requires an opening roughly 0.25 inches wider than the door slab to maintain consistent 1/8-inch perimeter gaps along the strike jamb and hinge wall.
For sliding glass enclosures in high-end Northbrook or Glenview estates, align overhead roller tracks using a 4-foot level before locking structural brackets into place. Tighten roller eccentric cams to square the door against the vertical wall, then snap durable vinyl sweeps along the bottom glass edge. Explore our approach to custom master suites in our Chicago luxury bathroom remodeling guide to see how precision door hanging elevates residential spa layouts.
Precision Sealing, Water Management, and Post-Care
Proper sealing keeps shower spray contained within the wet zone and protects surrounding bathroom framing from moisture damage.

Professional Glass Shower Wall Installation Sealing with Silicone
Apply a continuous, smooth bead of high-grade, mold-resistant silicone along all interior and exterior glass-to-tile junctions. Before caulking, clean the glass and tile surfaces with denatured alcohol to remove fine dust, oil, and mineral residue that could weaken adhesion.
Tool the silicone bead with a caulking spatula or a gloved finger dipped in clean water, wiping away excess material to create a neat, concave seal. Silicone requires 24 hours to set and a full 48 hours to cure completely before exposure to direct water spray. Testing the shower enclosure before the sealant cures can disrupt the bonding matrix and lead to stubborn wall leaks.
Maintenance and Protective Coating Care
Maintaining custom shower glass ensures lasting clarity and preserves factory hydrophobic surface treatments. Hard water across the greater Chicago area contains calcium and magnesium that can bond with untreated glass if left standing.
- Daily Squeegee Routine: Wipe down panels with a rubber squeegee or soft microfiber towel after every shower to prevent mineral buildup.
- Approved Cleaning Solutions: Clean glass surfaces with mild dish soap, diluted white vinegar, or non-abrasive alcohol-based cleaners.
- Prohibited Products: Avoid gritty scouring powders, steel wool, and strong acid-based cleaners that scratch glass surfaces or strip protective coatings.
- Hardware Care: Inspect mechanical hinge screws and clamp brackets annually, wiping metal finishes with soft cloths to avoid finish degradation.
Frequently Asked Questions About Shower Glass Installation
Can you use silicone alone to secure a glass shower panel?
No. Relying solely on silicone sealant to hold a heavy glass panel in place poses a major structural safety hazard. While silicone creates a durable watertight barrier, it does not provide the rigid mechanical resistance needed against accidental bumps or everyday use. Shower glass mounted with proper mechanical fasteners lasts 10 to 15 years or more, whereas silicone-only installations can degrade over time and fail without warning.
How do you mount glass shower walls when there is no stud?
If no wood stud is positioned behind your mounting layout, you must use heavy-duty structural anchors designed specifically for solid masonry, brick, or reinforced tile backer. For frameless hinged doors that exert high rotational force, structural wood blocking must be installed inside the wall cavity during remodeling to carry the dynamic weight safely. U-channel mounting systems can also be anchored through tile using rated commercial expansion anchors across multiple points along the channel length.
How long must silicone cure before using the shower?
Shower silicone sealant requires a minimum of 24 hours to set to the touch and a full 48 hours to cure completely before being exposed to running water or moisture. Subjecting fresh silicone to humidity or water pressure too early can compromise adhesion, break the waterproof barrier, and encourage early mold growth behind the perimeter seal.
Conclusion
A well-executed glass shower wall installation combines fine craftsmanship, structural backing, and reliable waterproofing. From verifying wall plumb in classic Chicago bungalows to engineering expansive frameless enclosures in modern North Shore master suites, professional installation ensures long-term safety, effortless operation, and lasting beauty.
Founded by Tomasz Pietrzyk with over 15 years of hands-on experience, HQ Carpentry has been serving homeowners across Chicago and the surrounding suburbs since 2011. As a fully licensed and insured remodeling contractor with a 5.0 Google Reviews rating, our team delivers high standards of precision across every custom glass shower installation, vanity and sink fitting, and master bath and spa design.
Transform your bathroom with high-quality custom glass installations and complete renovation expertise. Contact HQ Carpentry today at (773) 968-3606 for a free estimate, or explore our full range of bathroom remodeling services in Chicago at hqremodelingchicago.com.
Ready to start your remodel?
Tell us about your project and we'll follow up with next steps.
Free Quote