Why Your Kitchen Needs a Built In Kitchen Island with Seating
Why Choose a Built-In Kitchen Island with Seating?
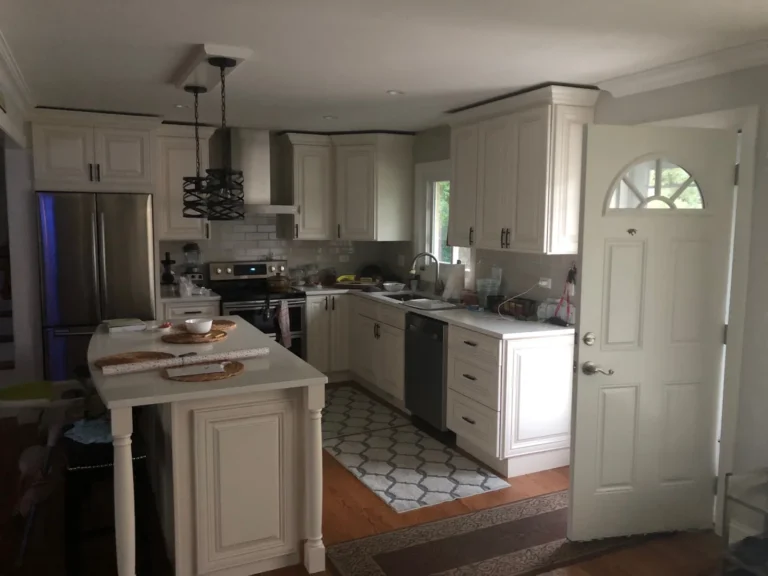
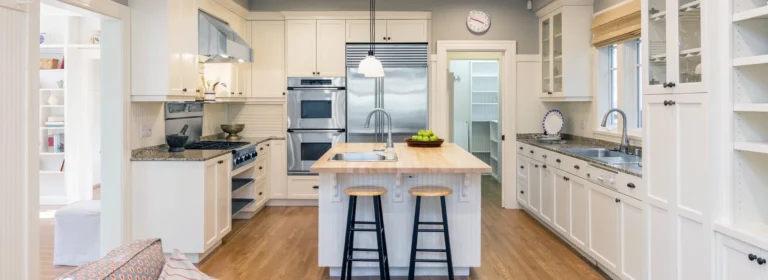
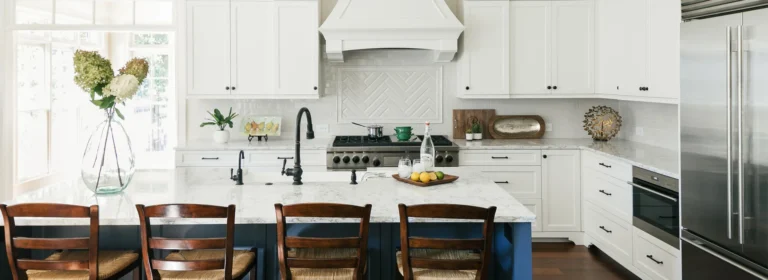
A built-in kitchen island with seating gives you prep space, storage, and a place to eat in one footprint. For a simple breakfast spot, extend the countertop over stools. For everyday meals, add a lower table section that fits dining chairs. A stepped design gives you both heights.
The key is to plan the seats and the space behind them. Allow at least 12 inches of knee space at a counter-height seat, or 15 inches at a lower dining section, then check that people can still move through the kitchen comfortably. For Chicago-area homeowners, HQ Carpentry’s kitchen island design can bring those pieces together in a layout built for your home.
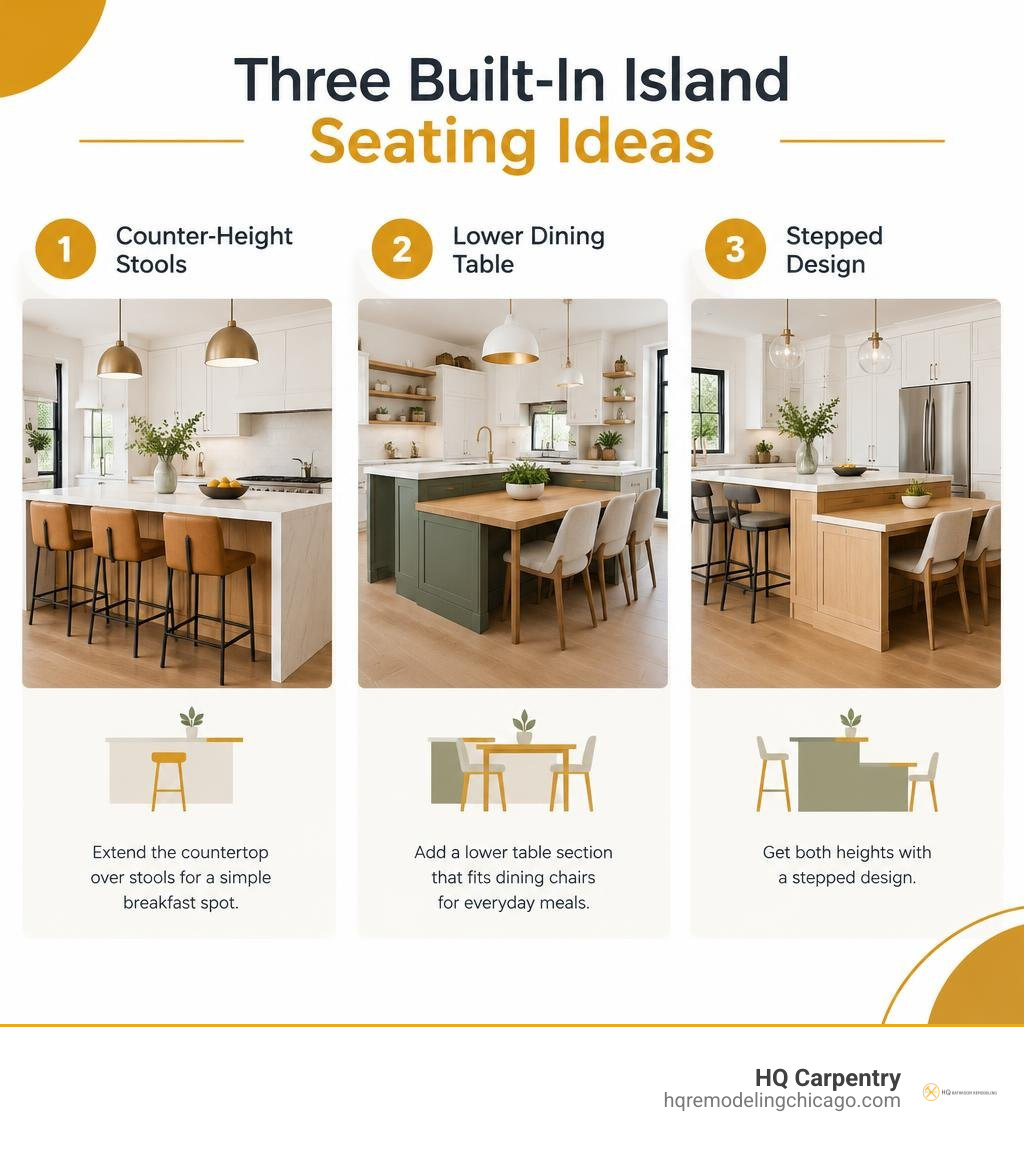
Simple built in kitchen island with seating glossary:
Key Benefits of a Built In Kitchen Island with Seating
Installing an integrated dining island transforms how your household interacts with the central cooking area. Instead of dividing your square footage between separate prep zones and freestanding dinettes, an integrated build consolidates high-traffic utilities into a unified hub.
A dedicated dining table with standard chairs typically requires 36 to 48 inches of clearance on all four sides. This demands roughly 40 to 60 square feet of floor space. An integrated table shares the island base and circulation pathways, cutting necessary clearances from four sides down to three and returning valuable square footage back to your floor plan. Explore our A-Z guide to kitchen island design to see how structural planning reclaims floor space across classic Chicago bungalow and colonial layouts.
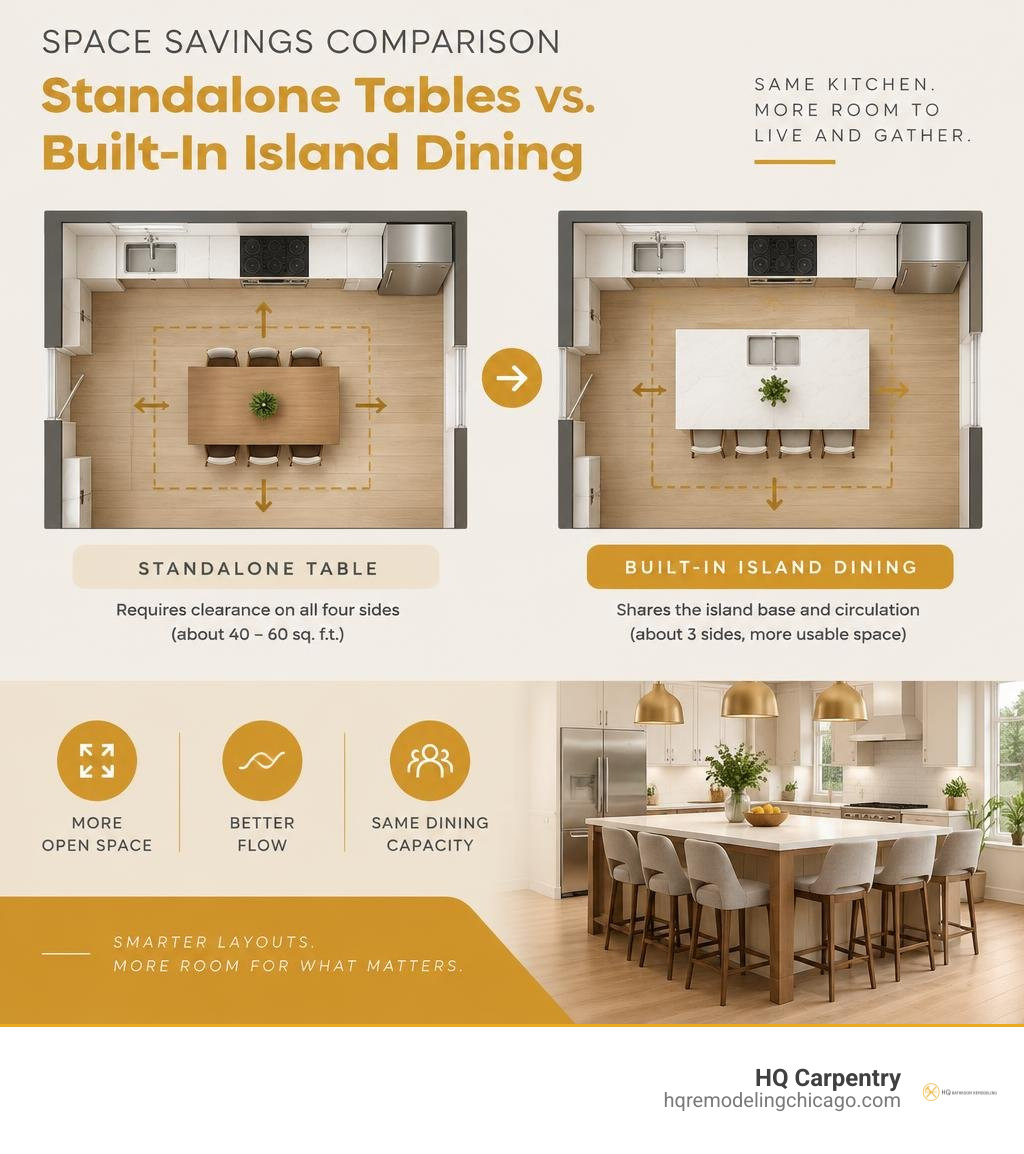
Maximizing Usable Floor Space and Workflow
By merging your dining zone into your cabinetry footprint, you preserve the efficiency of your work triangle. The primary cooking path between the range, sink, and refrigerator remains completely unobstructed by floating furniture.
In narrow urban footprints like Lincoln Park row homes or vintage condos in Evanston, every inch of walkway matters. Anchoring dining seating directly to the island allows homeowners to eliminate standalone breakfast tables entirely while maintaining comfortable dining capacity.
Blending Dining and Prep Zones Seamlessly
Modern living treats the kitchen as both a culinary workshop and a social venue. An integrated seating station lets family members tackle homework or guests enjoy drinks without intruding into active cooking zones.
The historical evolution of residential layouts—from isolated service areas to open culinary hubs—highlights the value of shared spatial planning, as detailed in the architectural evolution of the kitchen. Our custom builds create natural visual continuity across the entire room.
Top Design Configurations for Integrated Island Seating
Selecting the right layout depends on your home’s traffic patterns, ceiling heights, and preferred seating style.
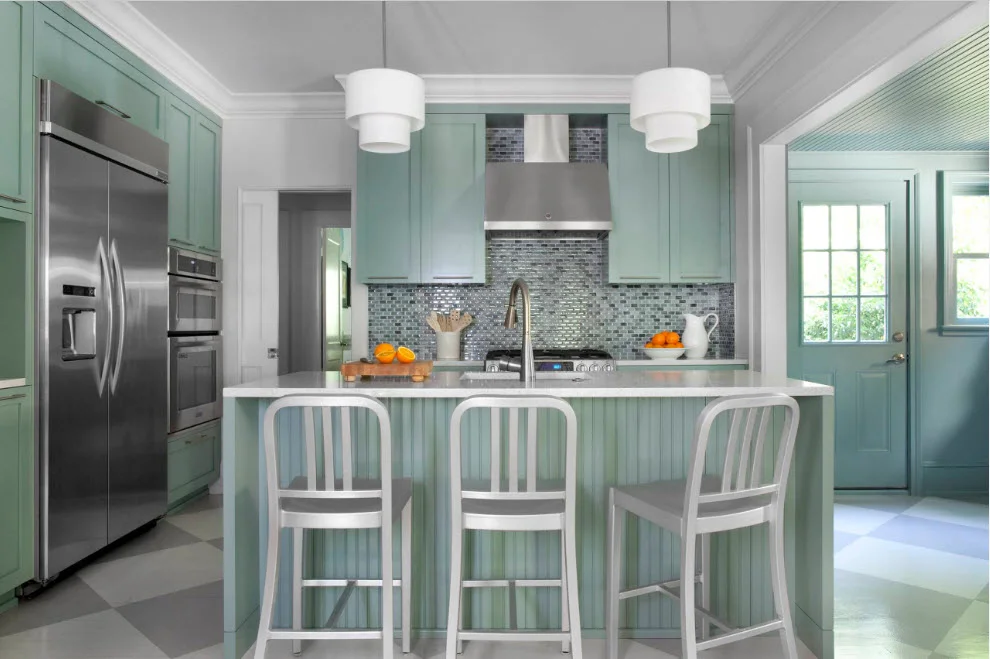
When planning an open layout, choosing the right configuration is essential. You can explore modern kitchen designs with an island to visualize how various profiles complement open-concept spaces.
Planning a Built In Kitchen Island with Seating at Counter Height
A continuous counter-height build maintains a single, level 36-inch worktop from edge to edge. This creates an expansive surface that serves equally well for large-scale meal preparation, rolling dough, or hosting buffet-style dinners.
Counter-height designs pair with 24-inch to 26-inch counter stools. They provide a sleek, uninterrupted sightline that works exceptionally well in contemporary open-concept residences across Skokie and Glenview.
Dropped Table Sections for Standard Dining Chairs
A dropped table design steps the dining surface down to a traditional 30-inch table height while keeping the main island at 36 inches. This configuration accommodates standard 18-inch dining chairs with cushioned backs.
Dropped surfaces offer enhanced comfort for longer meals and provide accessible, family-friendly seating for children and older adults. They deliver the comfort of a conventional dining set without requiring a separate room.
Stepped Transitions and Multi-Level Countertops
A stepped island utilizes a raised 42-inch bar ledge or a distinct dropped dining zone to create a physical division between culinary prep and casual dining.
This split-level construction prevents sink splashes and cooking splatters from reaching diners. It also hides dirty prep dishes from view when seated in adjacent living areas.
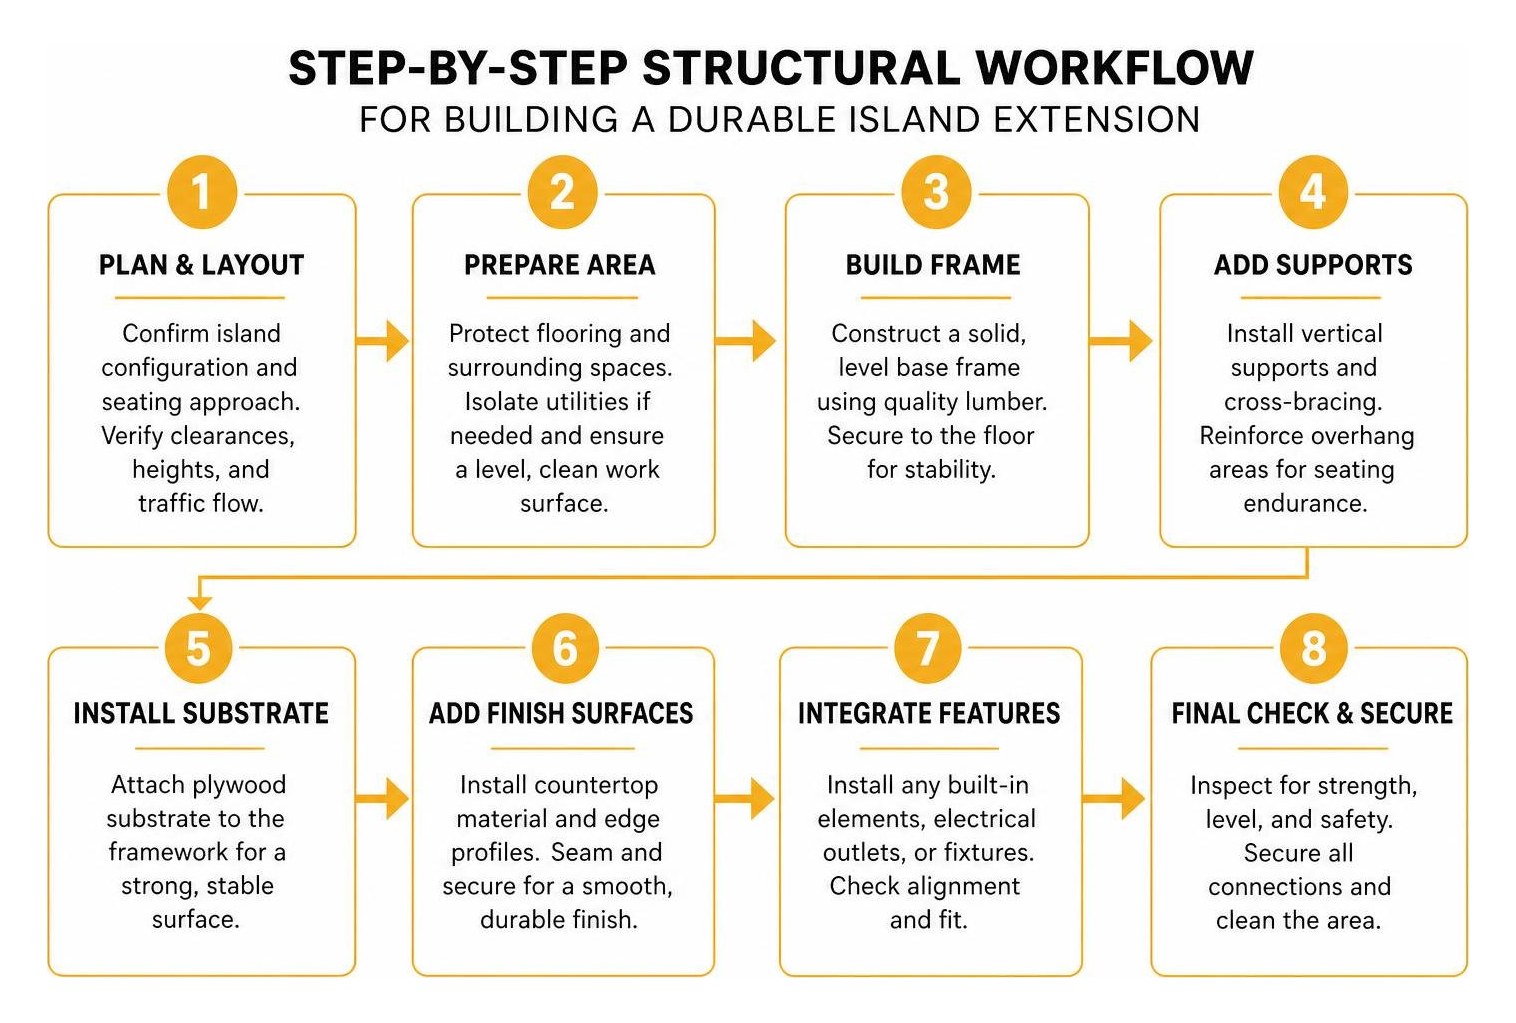
Essential Seating Clearances and Ergonomic Requirements
Proper spacing is what separates an enjoyable kitchen island from a cramped bottleneck.
| Configuration Type | Surface Height | Stool/Chair Seat Height | Minimum Knee Overhang | Recommended Walkway Clearance |
|---|---|---|---|---|
| Dropped Table Section | 30 Inches | 18 Inches | 15 Inches | 36–48 Inches |
| Continuous Counter Height | 36 Inches | 24–26 Inches | 12 Inches | 36–42 Inches |
| Raised Bar Top | 42 Inches | 28–30 Inches | 10–12 Inches | 36–42 Inches |
Overhang Depths and Knee Clearance Guidelines
To sit comfortably without knocking knees against cabinetry panels, counter-height seating requires a minimum overhang depth of 12 inches.
Dropped 30-inch dining extensions require at least 15 inches of overhang depth to accommodate standard dining chairs and deeper seated postures. Each seated diner should also be allocated at least 24 inches of horizontal width along the perimeter.
Structural Bracing and Cantilever Support Hardware
Countertop materials like granite and quartz are exceptionally heavy and brittle under tension. Cantilevered overhangs exceeding standard tolerances require robust internal support.
- Overhangs extending past 10 to 12 inches require hidden heavy-gauge steel support plates routed flush into the sub-top cabinetry.
- Cantilever spans extending beyond 18 to 24 inches must incorporate structural posts, integrated furniture legs, or framed steel sub-assemblies anchored directly into the floor structure.
Material Selection, Smart Storage, and Moisture Management
Blending resilient food prep surfaces with warm dining textures yields both durability and visual appeal.

When planning comprehensive upgrades, reviewing a kitchen renovation planning guide helps ensure utilities, structural adjustments, and cabinetry work harmonize before fabrication begins.
Combining Quartz, Stone, and Hardwood Surfaces
A popular approach combines non-porous engineered quartz on the main prep surface with solid hardwood or butcher block on the dining section. Quartz provides scratch and heat resistance around cooktops and sinks, while wood introduces warmth and acoustic dampening where people dine.
Where two materials meet, our builders install a flexible, waterproof silicone expansion seam. This barrier blocks moisture, prevents crumbs from becoming trapped in transition joints, and accommodates the natural seasonal movement of hardwood across Chicago’s humid summers and dry winters.
Building Storage into a Built In Kitchen Island with Seating
Strategic cabinetry integration prevents island seating from reducing valuable kitchen storage capacity.
- Double-Sided Base Cabinets: Incorporate shallow 12-inch push-latch cabinets beneath the seating overhang for infrequently used seasonal dinnerware.
- Pull-Out Trash Tilt-Outs: Conceal dual 13-gallon waste and recycling bins close to the primary prep area.
- Concealed Spice Racks & Deep Drawers: Utilize heavy-duty full-extension slides along the working perimeter for heavy cookware.
- Integrated Power & Charging: Install flush-mount pop-up outlets with USB-C ports on the island sides to support laptops and countertop appliances.
You can also explore creative approaches to decorating and styling your kitchen island to balance aesthetic displays with daily functionality.
Professional Custom Build Considerations
Executing a high-end integrated island requires coordinating precise structural framing, custom cabinet installation, and countertop integration. Key elements influencing custom fabrication include:
- Cabinetry Customization: Premium solid-wood construction with soft-close hardware, custom end panels, and flush toe kicks designed to match existing architectural trims.
- Surface Materials: Premium quartz, quartzite, natural marble, or 1.5-inch solid hardwood tops conditioned for food contact.
- Structural Framing & Infrastructure: Steel plate sub-assemblies, floor anchoring, subfloor leveling, and licensed electrical routing for code-compliant island outlets.
- Architectural Detailing: Decorative shiplap, vertical fluting, integrated LED under-cabinet accent lighting, and custom furniture-style support posts.
Frequently Asked Questions About Kitchen Island Seating
How much overhang is needed for comfortable island seating?
For standard 36-inch counter-height seating, plan for a minimum overhang depth of 12 inches. For dropped 30-inch dining table surfaces, provide at least 15 inches of overhang to ensure adequate legroom for standard dining chairs.
Can you add a built-in table to an existing kitchen island?
Yes. A dining extension can be retrofitted by anchoring a reinforced subframe to the existing island structure or securing support posts to the subfloor. Finishes can be matched or intentionally contrasted using custom hardwood dining tops.
What is the ideal clearance around an island with dining seats?
Maintain at least 36 inches of clearance between the pushed-in seating edge and opposite walls or cabinets. In high-traffic thoroughfares or open walkways behind active dining areas, 42 to 48 inches is recommended to allow easy passage while seats are occupied.
Conclusion
A well-crafted built-in kitchen island with seating elevates your home’s layout, combining efficient meal preparation, abundant storage, and comfortable dining into an architectural focal point. Whether you are remodeling a historic brownstone in Lincoln Park, modernizing a family residence in Northbrook or Wilmette, or updating a suburban home in Oak Brook or Arlington Heights, HQ Carpentry provides the craftsmanship needed to bring your vision to life.
Founded by Tomasz Pietrzyk with over 15 years of hands-on experience, HQ Carpentry has served homeowners across Chicago and the North Shore suburbs since 2011. As a fully licensed and insured general contractor holding a 5.0 Google Reviews rating, we specialize in full kitchen remodeling, custom cabinet installation, kitchen island design, countertop integration, open concept renovations, structural adjustments, and building permit acquisition.
Ready to transform your culinary space? Contact HQ Carpentry today to get started on your kitchen remodel in Chicago and schedule a free estimate by calling (773) 968-3606 or visiting hqremodelingchicago.com.
Ready to start your remodel?
Tell us about your project and we'll follow up with next steps.
Free Quote